


PDF Templates
For this DIY Pop-Up you will need:
- Cardstock or heavy construction paper
- Scissors
- Ruler
- Paper clip, or ballpoint pen that has run out of ink, or a knitting needle
- Crayons, colored pencils, markers
Instructions
1 Download the PDF templates and print out at 100% size (no scaling) on a heavy paper, such as cardstock.
2 Color all of your pieces with crayons or markers before scoring and cutting.
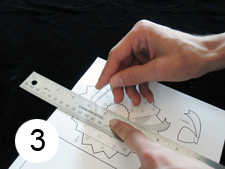
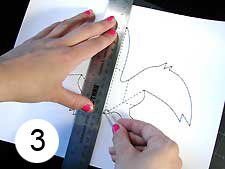
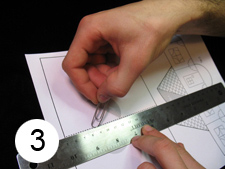
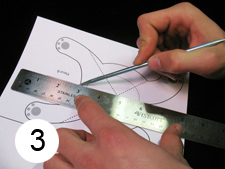
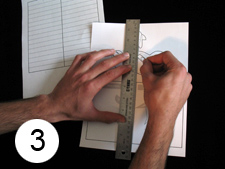
3 Use a ruler or a straight edge and a paper clip to score all the black dotted lines.
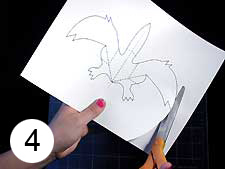
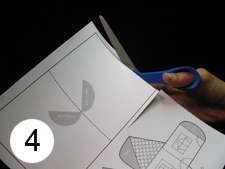
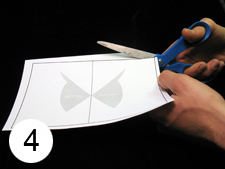
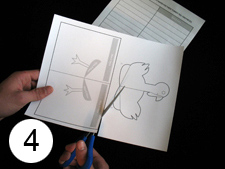
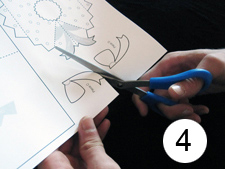
4 Next use scissors to cut out all the pieces along the black solid lines.
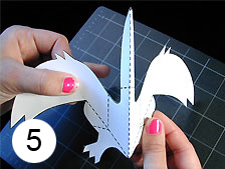
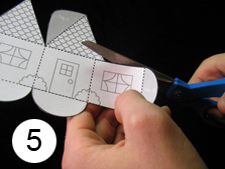
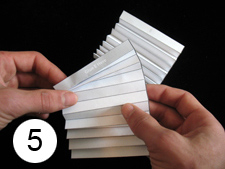
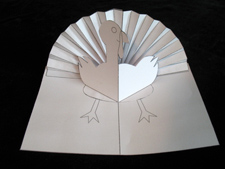
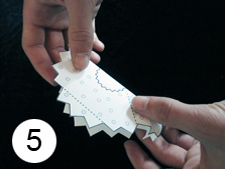
5 To cut out the center of the wreath, fold the wreath piece in half away from you. Do not unfold.
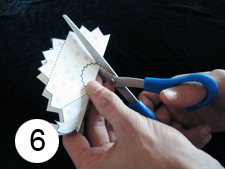
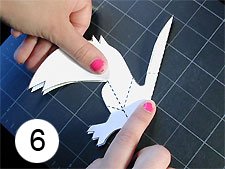
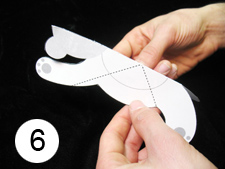
6 Now you can cut the center area out of the wreath piece. Do not unfold yet.
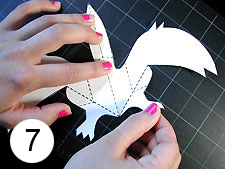
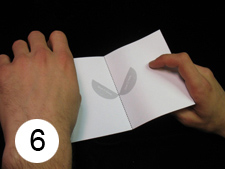
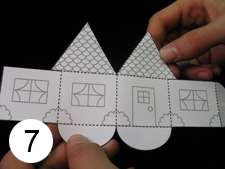
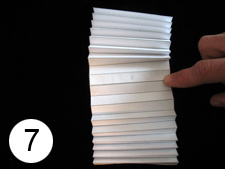
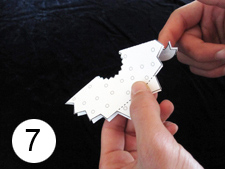
7 Fold the angled black dotted lines towards you and then away from you. Unfold the piece.
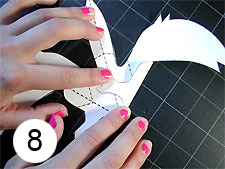
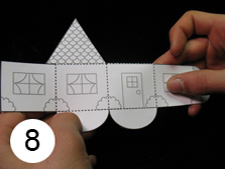
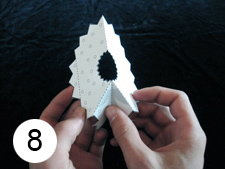
8 Now push the bottom area of the wreath piece away from you as you start to fold the piece in half. Unfold.
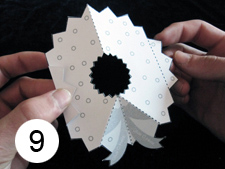

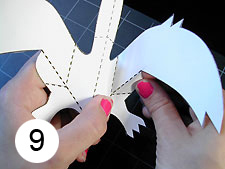
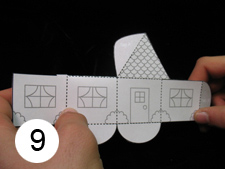
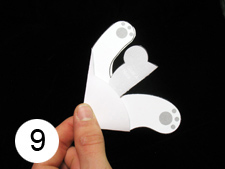
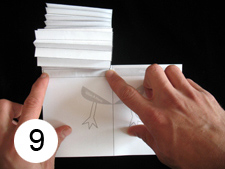
9 Fold tab A towards you. Unfold.
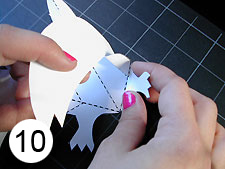
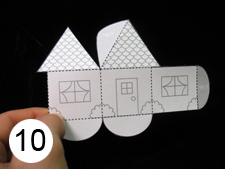
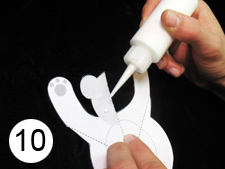
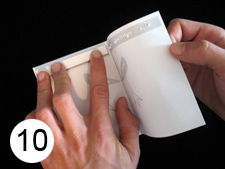
10 Fold tab B towards you. Unfold.
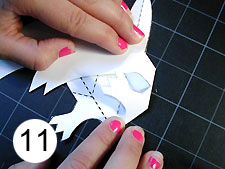
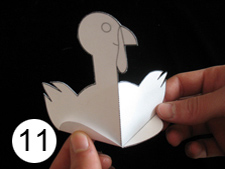
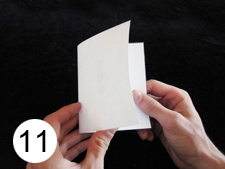
11 Take the card piece and fold towards you. Unfold.
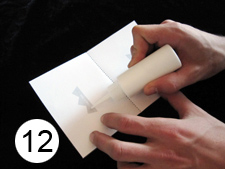
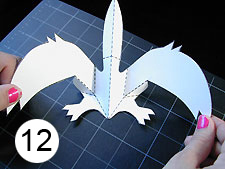
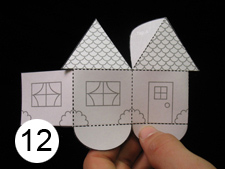
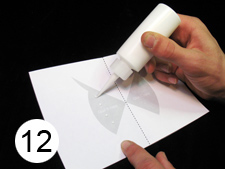
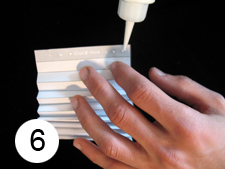
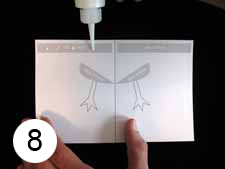
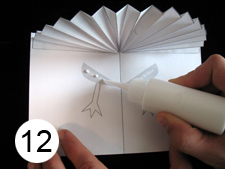
12 Put glue on the ‘Glue A Here’ gray area
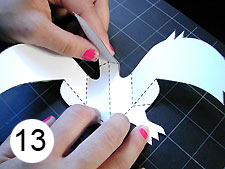
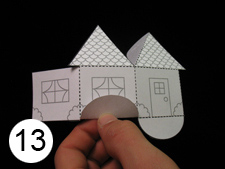
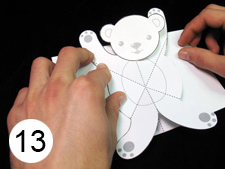
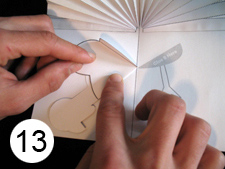
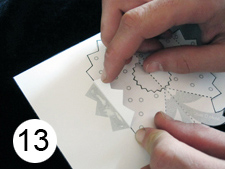
13 Line up wreath piece’s tab A with ‘Glue A Here’. Press firmly and let dry.
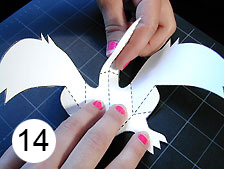
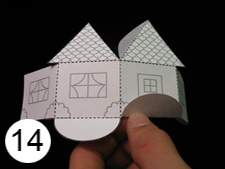
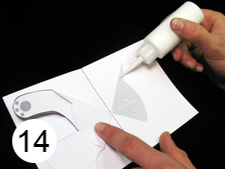
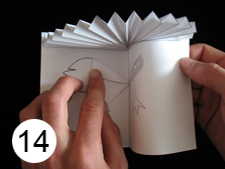
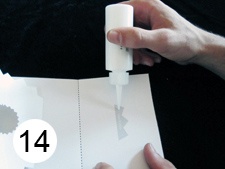
14 Put glue on the ‘Glue B Here’ gray area.
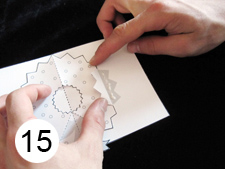
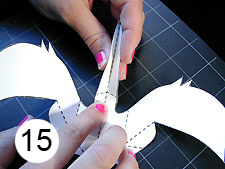
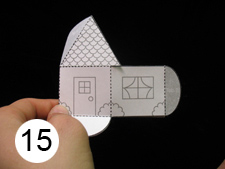
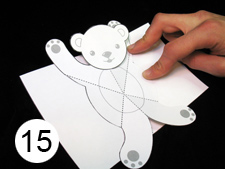
15 Line up wreath piece’s tab B with ‘Glue B Here’. Press firmly and let dry.
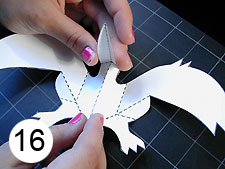
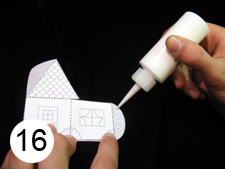
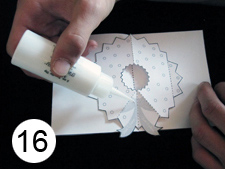
16 Put glue on the ‘Glue C Here’ gray area.
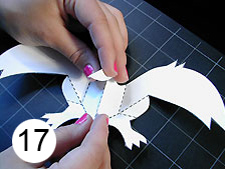
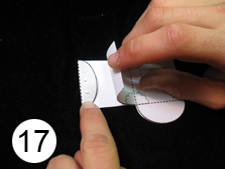
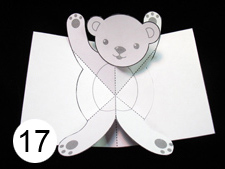
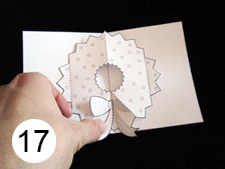
17 Take piece C and line up with the ‘Glue C Here’ gray area. Press firmly and let dry.
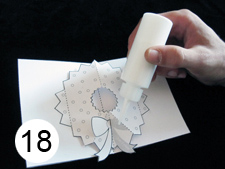
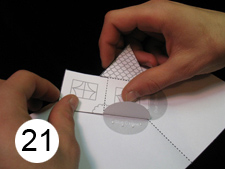
18 Put glue on the ‘Glue D Here’ gray area.
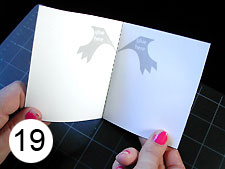
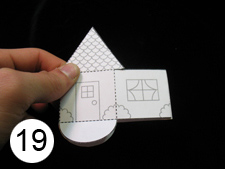
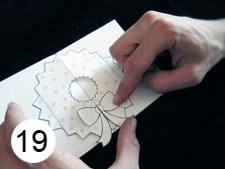
19 Take piece D and line up with the ‘Glue D Here’ gray area. Press firmly and let dry.
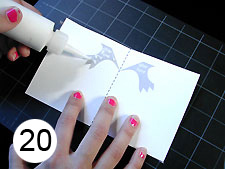
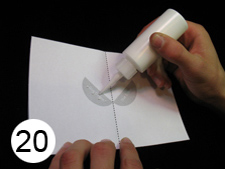
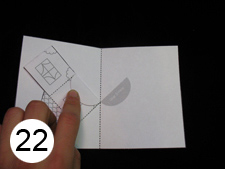
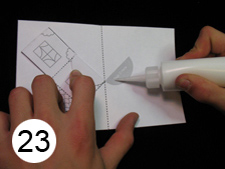
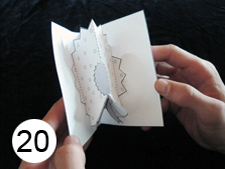
20 Now fold the card in half.
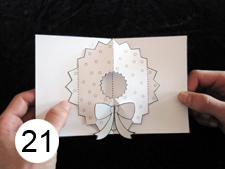
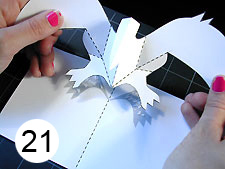
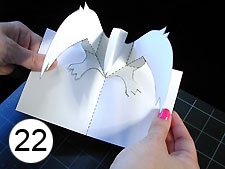
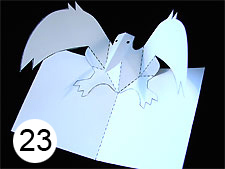
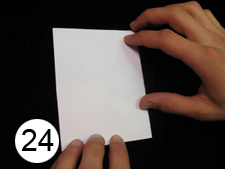
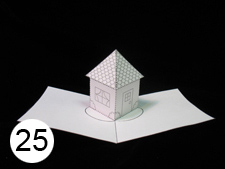
21 Unfold and now you’ve made your own pop up wreath!