


PDF Templates
For this DIY Pop-Up you will need:
- Cardstock or heavy construction paper
- Scissors
- Ruler
- Paper clip, or ballpoint pen that has run out of ink, or a knitting needle
- Crayons, colored pencils, markers
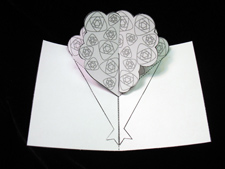
Autobots – roll out! Now you can make your very own Transformers pop-up of one of the heroic Autobot on Cybertron, the legendary Optimus Prime! Download the PDF templates and print out at 100% size (no scaling) on a heavy paper, such as cardstock.
Instructions

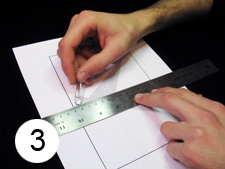
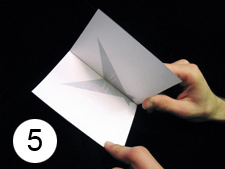
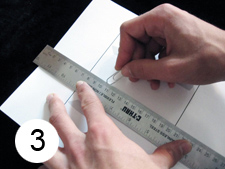
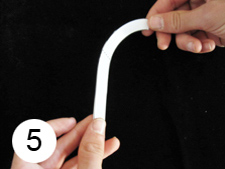
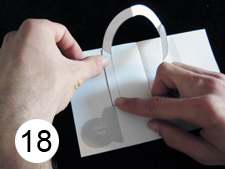
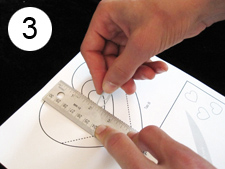
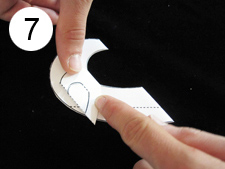
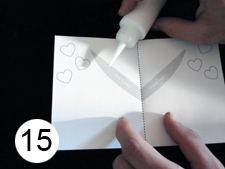
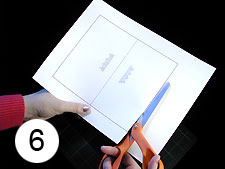
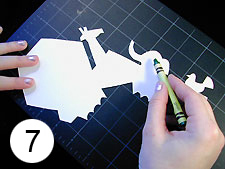
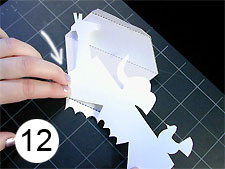
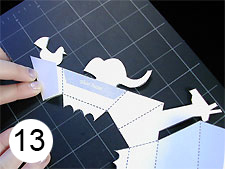
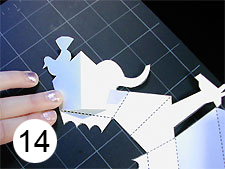
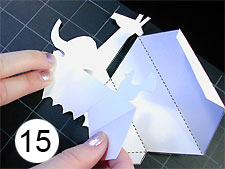
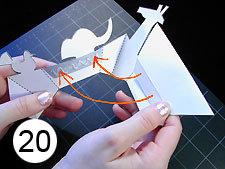
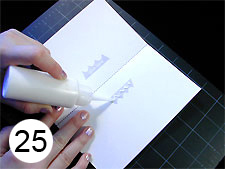
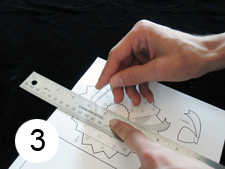
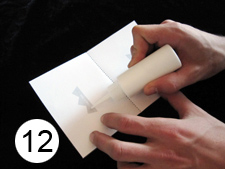
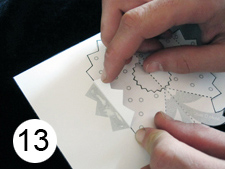
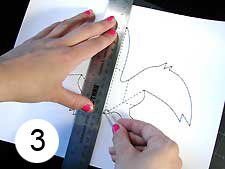
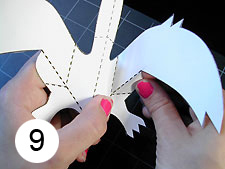
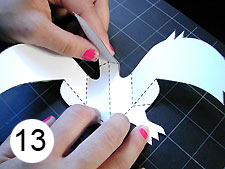
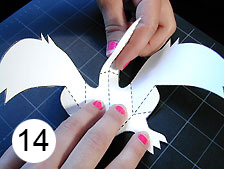
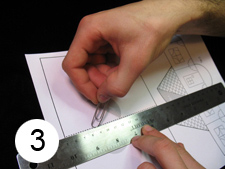
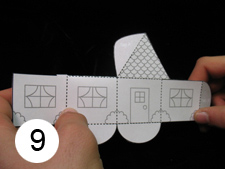
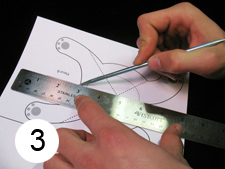
1 Using curved edge of a large paper clip along a ruler, trace all the dotted lines to create easy-to-fold lines.
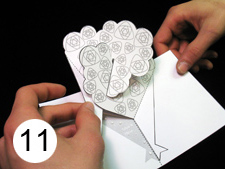
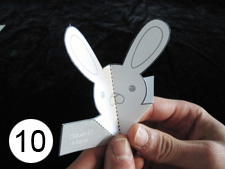
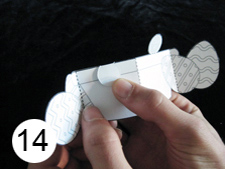
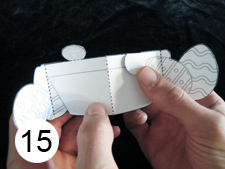
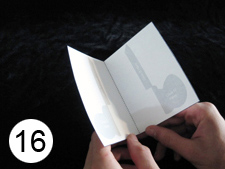
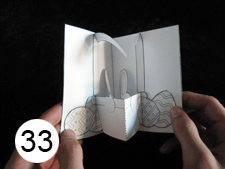
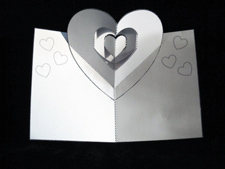
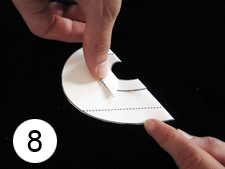
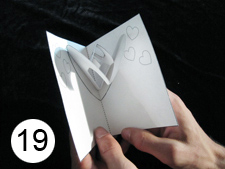
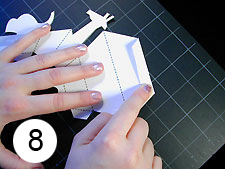
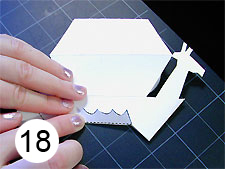
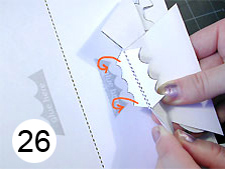
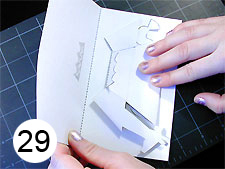
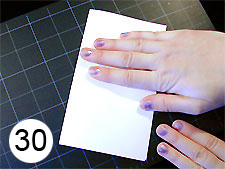
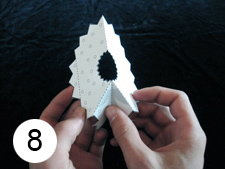
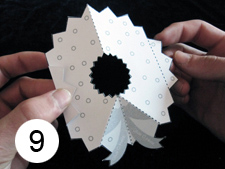
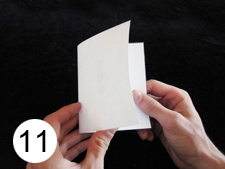
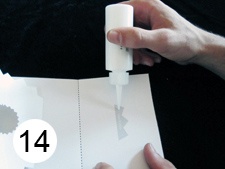
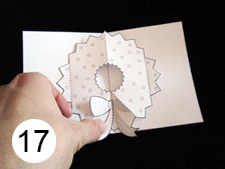
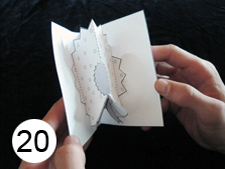
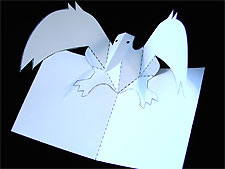
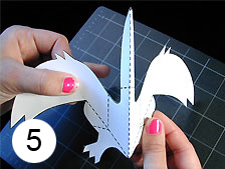
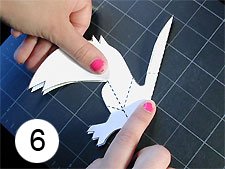
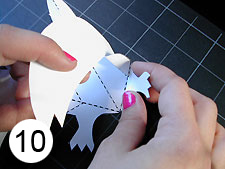
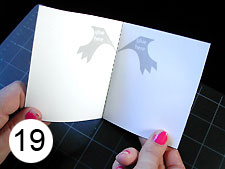
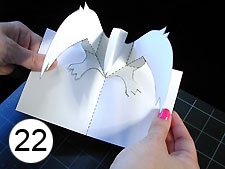
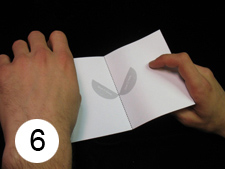
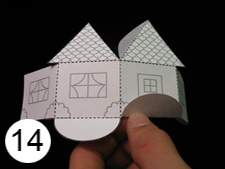
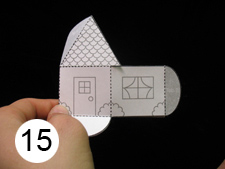
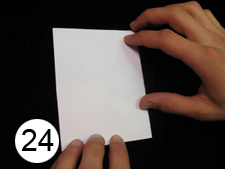
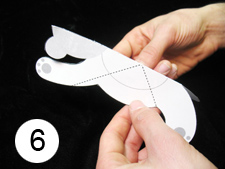
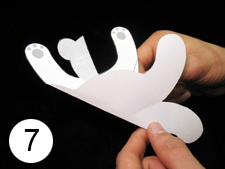
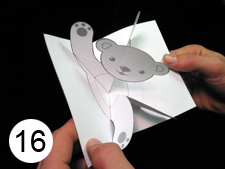
2 Fold as directed in the diagram on the page.
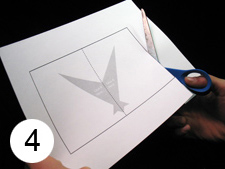
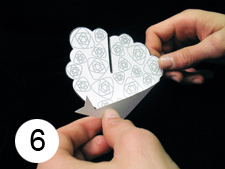
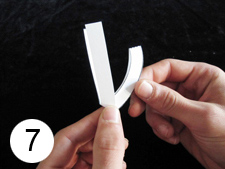
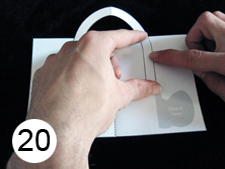
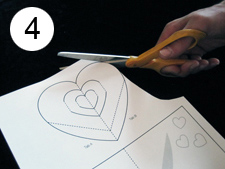
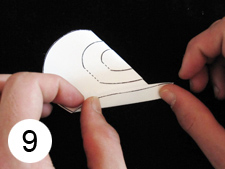
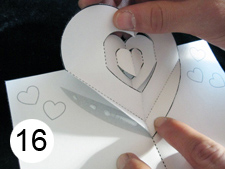
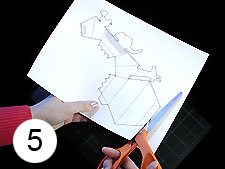
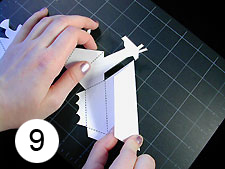
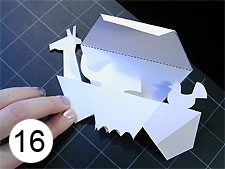
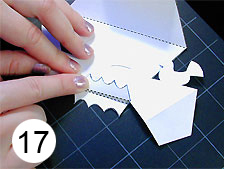
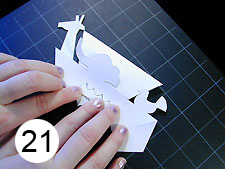
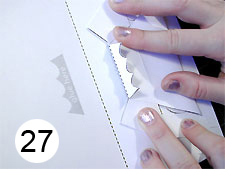
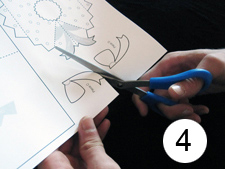
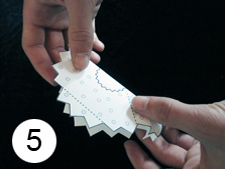
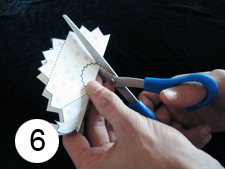
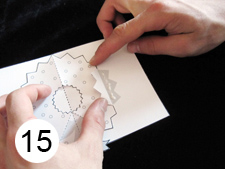
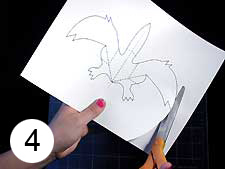
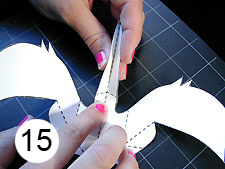
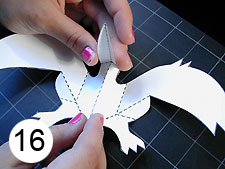
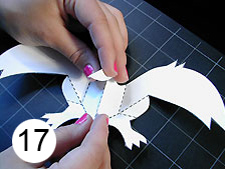
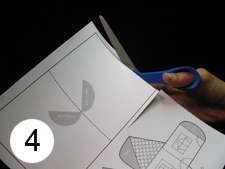
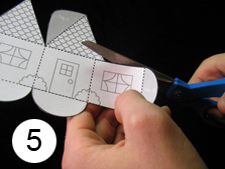
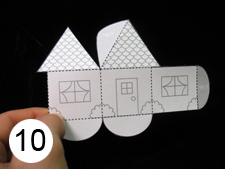
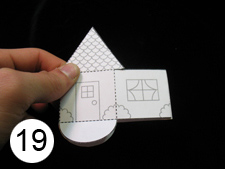
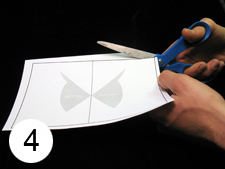
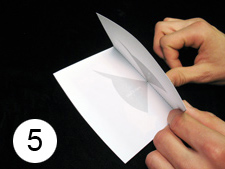
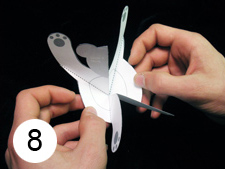
3 Cut out all pieces along all solid black lines.


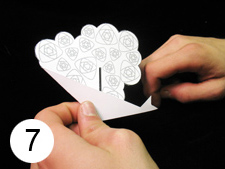
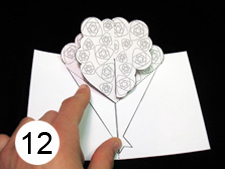
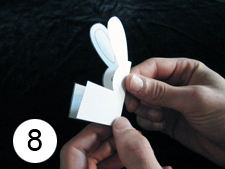
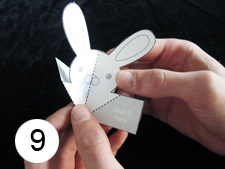
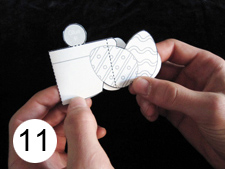
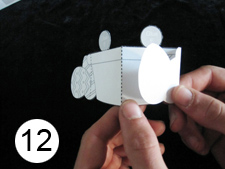
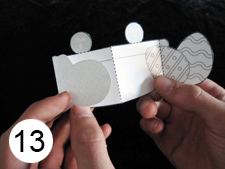
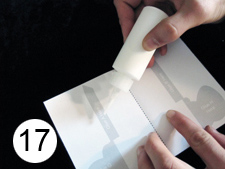
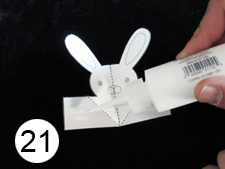
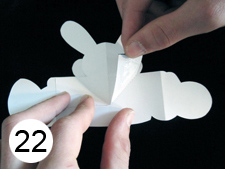
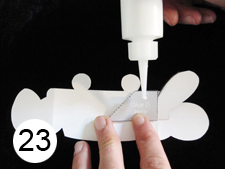
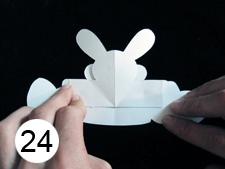
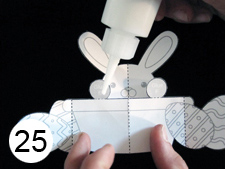
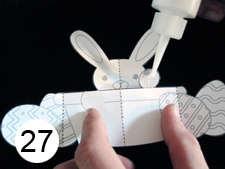
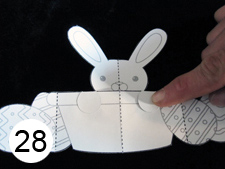
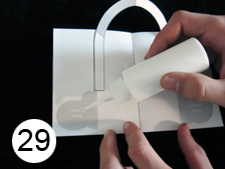
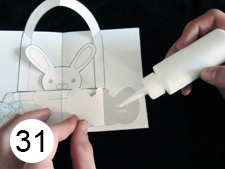
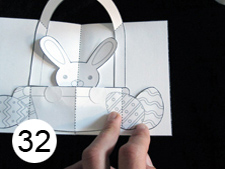
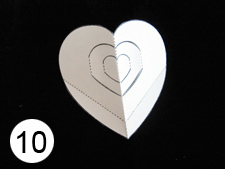
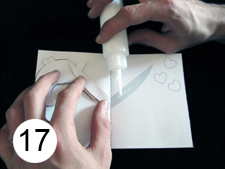
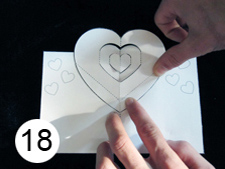
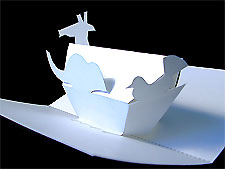
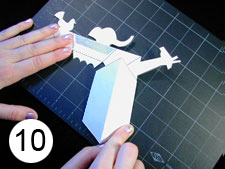
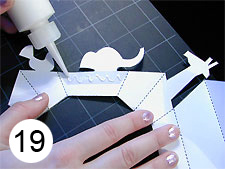
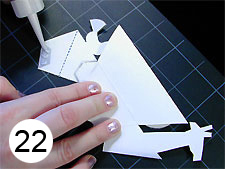
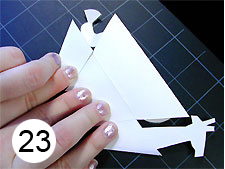
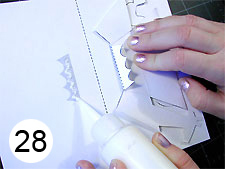
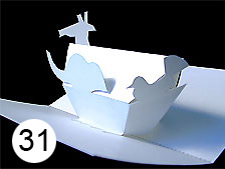
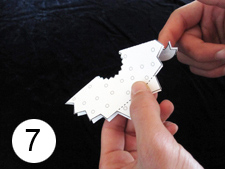
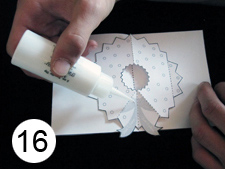
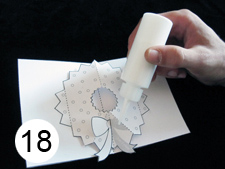
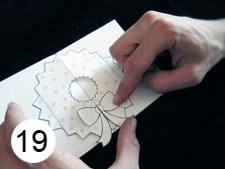
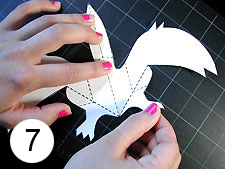
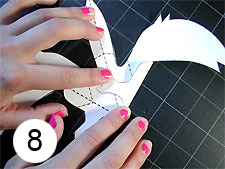
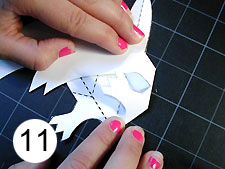
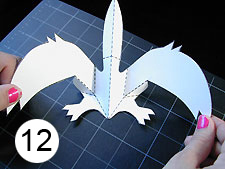
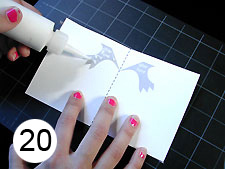
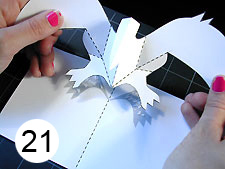
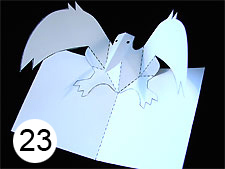
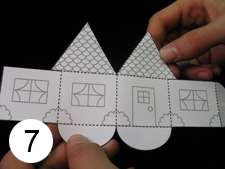
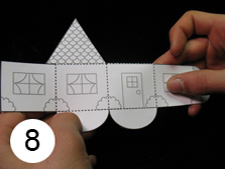
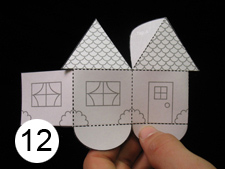
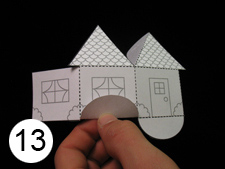
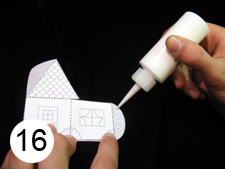
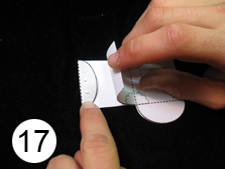
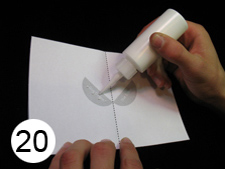
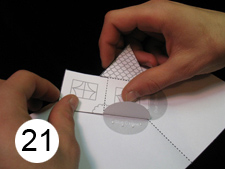
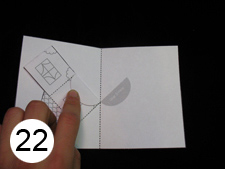
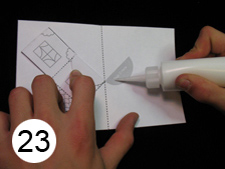
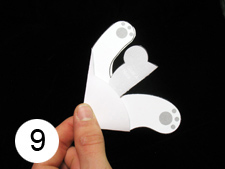
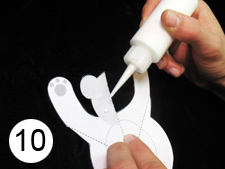
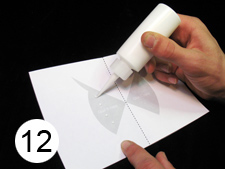
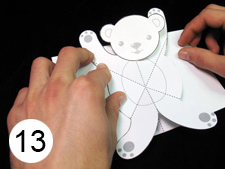
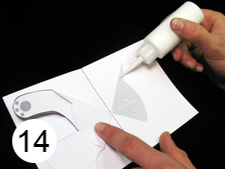
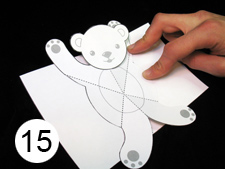
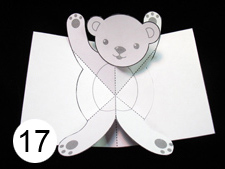
4 Glue tabs as directed and assemble as shown in the diagrams on the page.
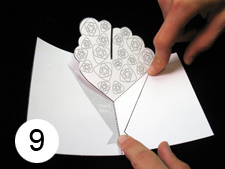
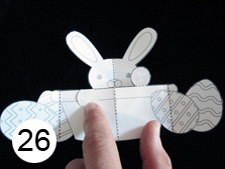
5 Color in with crayons, colored pencils or markers.
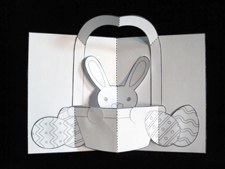
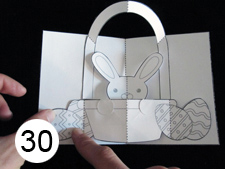
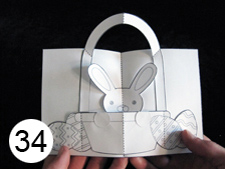
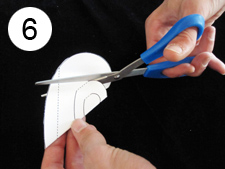
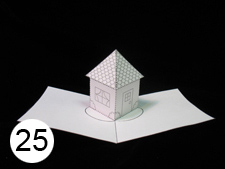
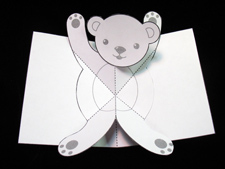
6 Voila! You’ve transformed mere paper into a pop-up Autobot hero!